
Donec efficitur, ligula ut lacinia
viverra, lorem lacus.
Donec efficitur, ligula ut lacinia
viverra, lorem lacus.

Opening the kiln is always exciting. We know what went in, but colour, glaze and heat may have changed it while we waited. That feeling is especially strong with our butterfly and moth brooches. Their delicate wings took more trials than we expected.
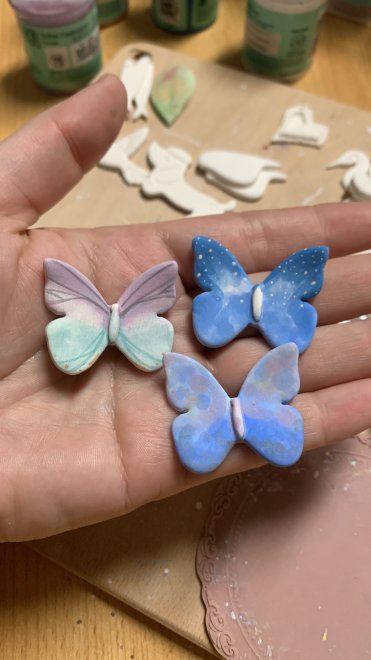
We began by drawing different wing shapes and adjusting their proportions. A specialist then made several moulds for us to test. We wanted wings that looked light and gently curved, with a raised porcelain body that gave the brooch depth.
The first pieces taught us how difficult that shape could be. We joined two porcelain layers and worked out how to dry the curved wings without letting them lose their form. Once dry, every edge needed careful smoothing. The wings were so fragile at this stage that we lost an entire test batch before it reached the kiln.

After the first firing at 960°C, we prepared the backs for their metal fittings and began decorating. At first, we let the glazes create their own patterns. Each piece came out a little differently, and we loved those surprises.
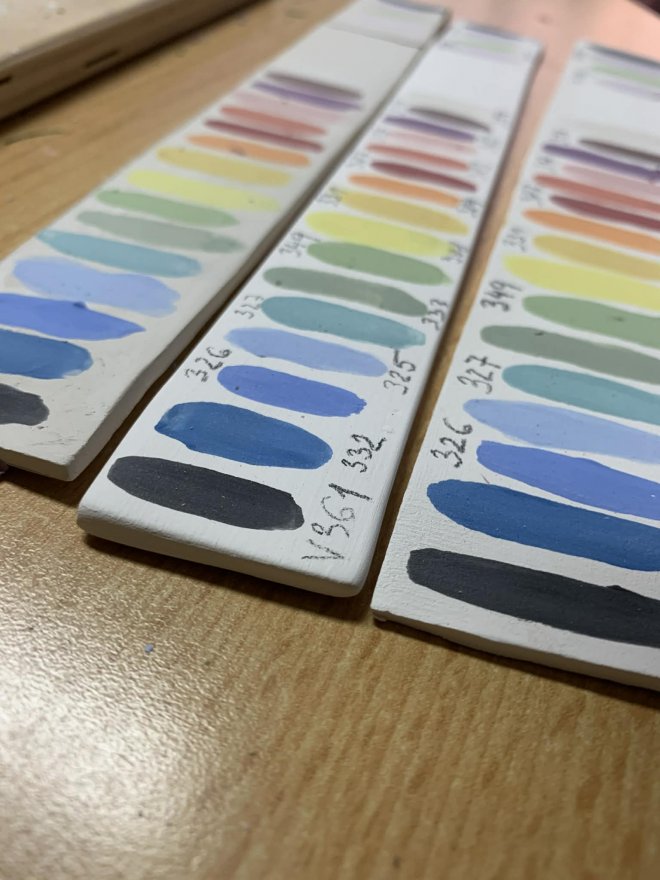
We also wanted to paint finer details onto the wings. That meant testing colours that could withstand the next, hotter firing. Some shades faded; others changed under clear glaze. So we made our own colour samples, firing each shade on porcelain to see how it would really look. Those tests now help us choose colours for new designs.
When the painted and glazed pieces come out of the kiln, we decide what each one needs to feel complete. Some suit a warm gold detail, others a touch of platinum or a soft pearlescent finish. Finally, we attach and check the fittings so the brooches are ready to wear.
Each butterfly and moth carries traces of those early experiments: the curved wings we learned to handle, the colours we tested and the pieces that showed us what to try next.


